


If you recently purchased Outlast 2 and are looking for a walkthrough, you’ve certainly come to the right place. Considering how Outlast 2 is a horror game, it can be easy to overlook certain tidbits as you struggle to stay alive.
While you won’t find as many frights in the beginning of Outlast 2, it still helps to have a reference should you get turned around. Below, we’ve put together an in-depth walkthrough of Outlast 2.
Outlast 2 Intro

After the opening intro in Outlast 2, you wake up to find you’re in a strange school hallway. Straight ahead, you’ll see a crucifix hanging from the wall. Move forward and note that a locker on your left will open.
Continue moving forward, and as you near the corner, you’ll hear something hit the floor. Go ahead and turn the corner. There, you’ll spot a man in a blue suit walking away. Follow him, then after this portion ends, you’ll wake up again near the wreckage of a helicopter.
Outlast 2 Helicopter Crash

Now that you’ve woken up once more, you’ll find yourself in control of Blake Langermann. At this point, you can pick up your camera and head off toward the rocks on your left to reach the helicopter wreckage. This is where you’ll be able to capture your first recording. To do so, use your camera and focus it on the helicopter until the red circle in the center of your screen fills.
Next, press Tab (or your controller’s equivalent) to open your camera and watch the recording. In doing so, you’ll hear Blake’s short commentary on the situation. When the recording has concluded, venture around the helicopter and stop to grab a bandage inside an open box to the left of the crash site.

Here, you’ll also learn how to use Night Vision (similar to the previous game) to help guide you through dark areas. Be sure to use Night Vision sparingly, as this feature will drain your camera’s batteries. As you continue down the path, you’ll encounter the corpse of a pilot tied to a tree. Use your camera again and focus it on the body to grab your second collectible recording.
Again, play the recording back to hear Blake’s thoughts on the matter. Once you’ve finished, turn your Night Vision on and walk on until you reach a canyon with the view of church steeple off in the distance.
Entering the Village

Before you head down the hill, focus your camera on the church steeple in the distance for your third collectible video recording. Play it back to hear Blake’s thoughts on the creepy village before proceeding down the hill. Next, you’ll reach a set of buildings and will hop over a wooden fence. On your left, you’re able to knock on the door of the building.
This is another new mechanic in Outlast 2, one that can be more than a little unsettling as you never know what lurks inside the buildings. Fortunately, nothing answers your knock, and you can continue on your way. As you’re walking you’ll spot a fire which leads you into the village. Use your Night Vision to enter a building on your right. There, you’ll find a battery, and the first collectible document beside a corpse sprawled over a table.

After collecting everything, head back into the village and continue on your way. You’ll eventually come across a tricycle, and if you look to your left, you’ll see a strange man with a machete. This man will not attack you. Instead, wait until he backs away, then follow in the same direction that he disappeared. In the distance, you’ll hear the sound of screaming ahead of you. Before you continue on, veer off to the left side of the building just ahead of you and record the wall covered in dolls for the next video recording.

To enter the next house, you’ll need to open the window on the right. After you climb inside, walk through the house and unlock the deadbolt to open the door. Head through the door, then crouch to move through a small hole in the fence. Next, you’ll encounter a path with crosses on both sides. Make your way down into the tunnel, and stop to record the document on the table. Continue past the bloody manger (similar to the Outlast 2 demo walkthrough) and follow the drag marks which lead to a pile of bodies.

Make your way around the edges of this area to find the way out. Once you’ve found this, exit the tunnel and travel down the path toward the old set of swings and a creepy rocking horse. There, you’ll spot a gate with a hole large enough for you to crawl through. Once you’ve made your way through the hole, keep going toward the path past the building on your left. Use your Night Vision, and be cautious, as you’re about to run into several villagers.
Note that there’s a battery atop the table inside the broken shed, so be sure to collect it. As you head on, you’ll come across a tall figure moving toward you. Run from this enemy and circle around the shed. As the music fades, keep moving forward and around the corner. Now, the way should be clear, and you can look for a hole in the ground. Once you’ve found it, enter it and crawl your way into a barn. You’ll hear screaming once more.
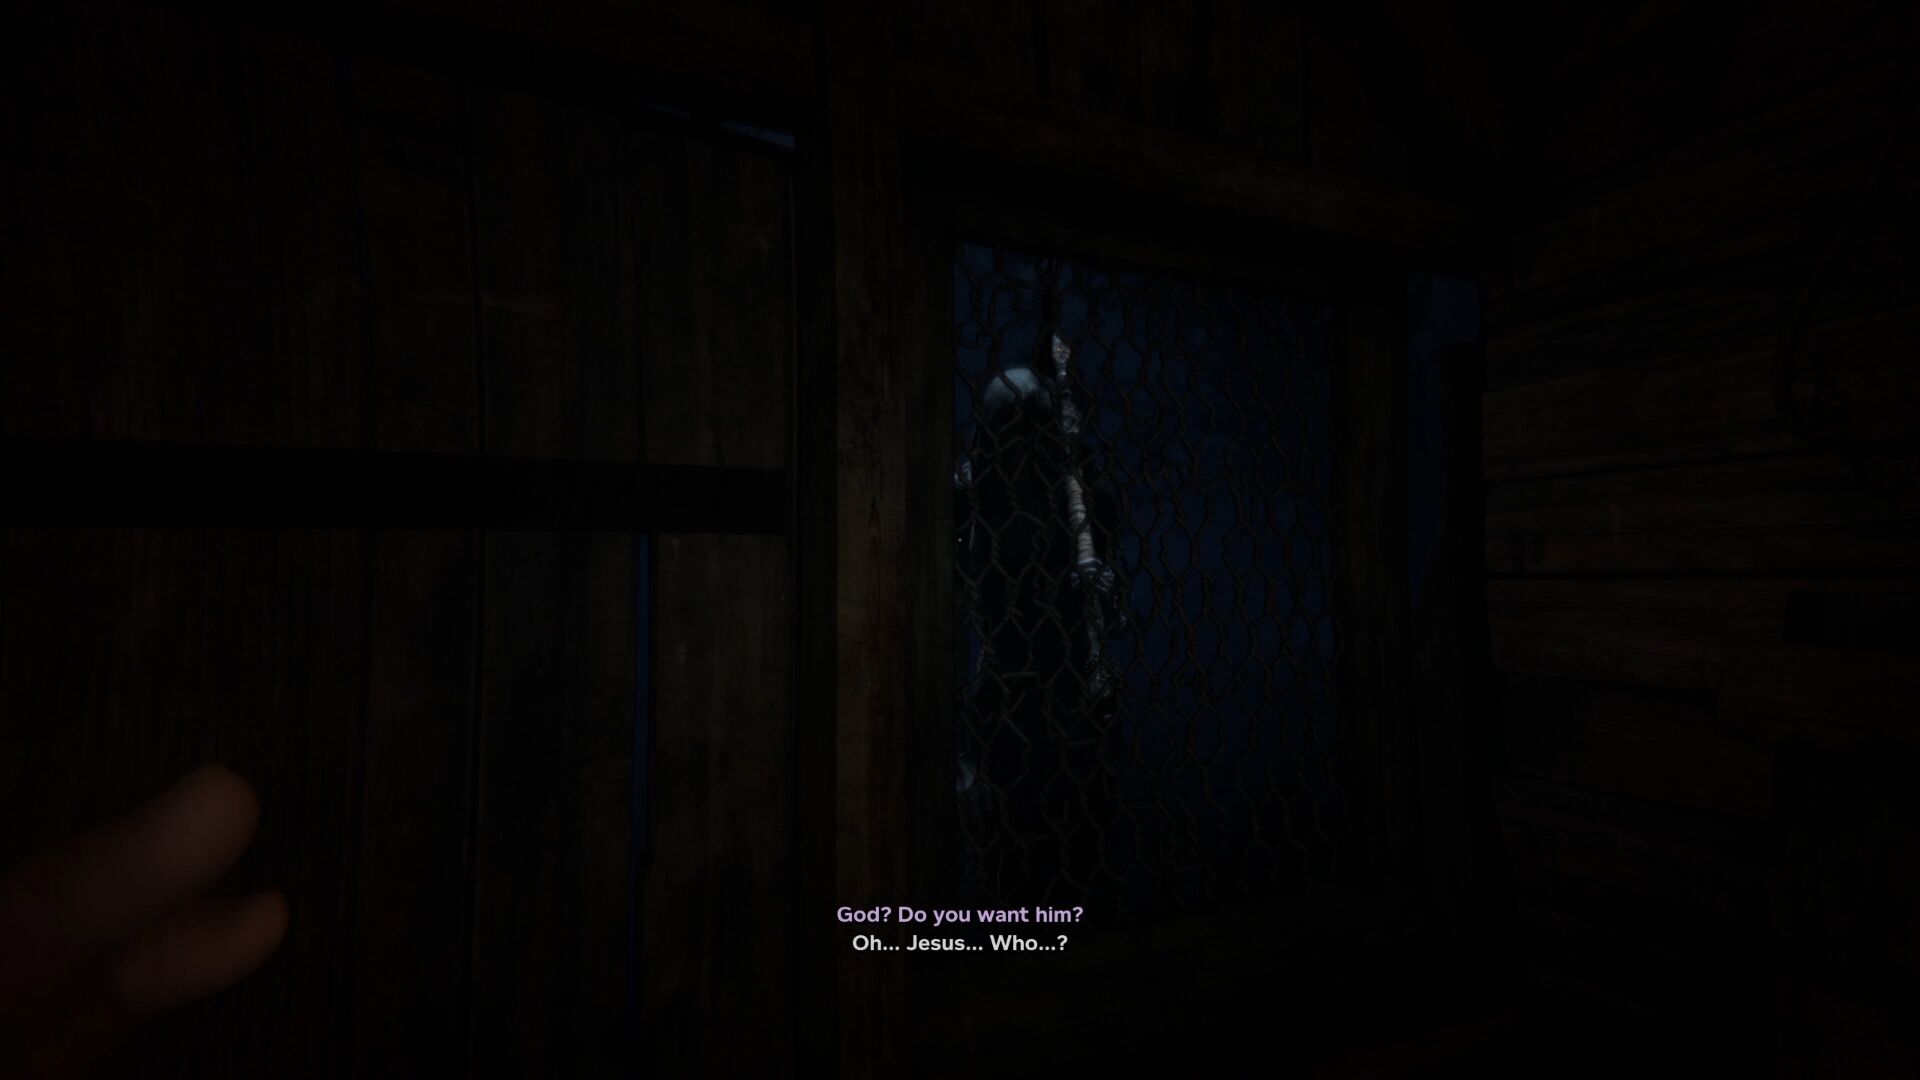
Turn on your Night Vision and head over two fences in your way. As you encounter the last stall in the barn, there’s a cart you can move under the broken ladder. After you’ve done this, you can jump on the ladder and reach the second story of the barn. Next, head down the center path and wait until you’re dropped down onto the first floor. There’s a strange man standing outside the window in front of the barn.
He won’t attack you, though, so ignore him and head through the doorway to your right. Once you’ve ventured right, you’ll spot a battery on the shelf at the end of the hall. Grab it, then exit by opening the window and heading outside.
Reaching the Church
This marks the last portion of the opening stages of Outlast 2. Here, you’ll need to track down your wife, Lynn. Once you’ve exited the barn, head out through the next open window and enter a small house. This is where you’ll learn about noise tracking, which can be used to hear enemies moving around outside. Listen until the path is clear, then exit the window on the opposite end of where you entered the house.
Be careful, as there are several enemies around. You’ll need to sneak along the right side, and if you’re spotted (which is likely) run down the path until a white light triggers. This will incapacitate and enemies chasing you, thus allowing you to move along without being killed. Continue up the path, and be sure to grab the document on the ground in the canyon.

Next, walk up the path that leads to a large church. You won’t be able to enter from the front gate, so you’ll need to find the hole located on the left side of the fence. Once you’ve found it, crawl through, then aim your camera at the top of the church to grab a recording. Now, head inside the church and make a right near the door with the light.
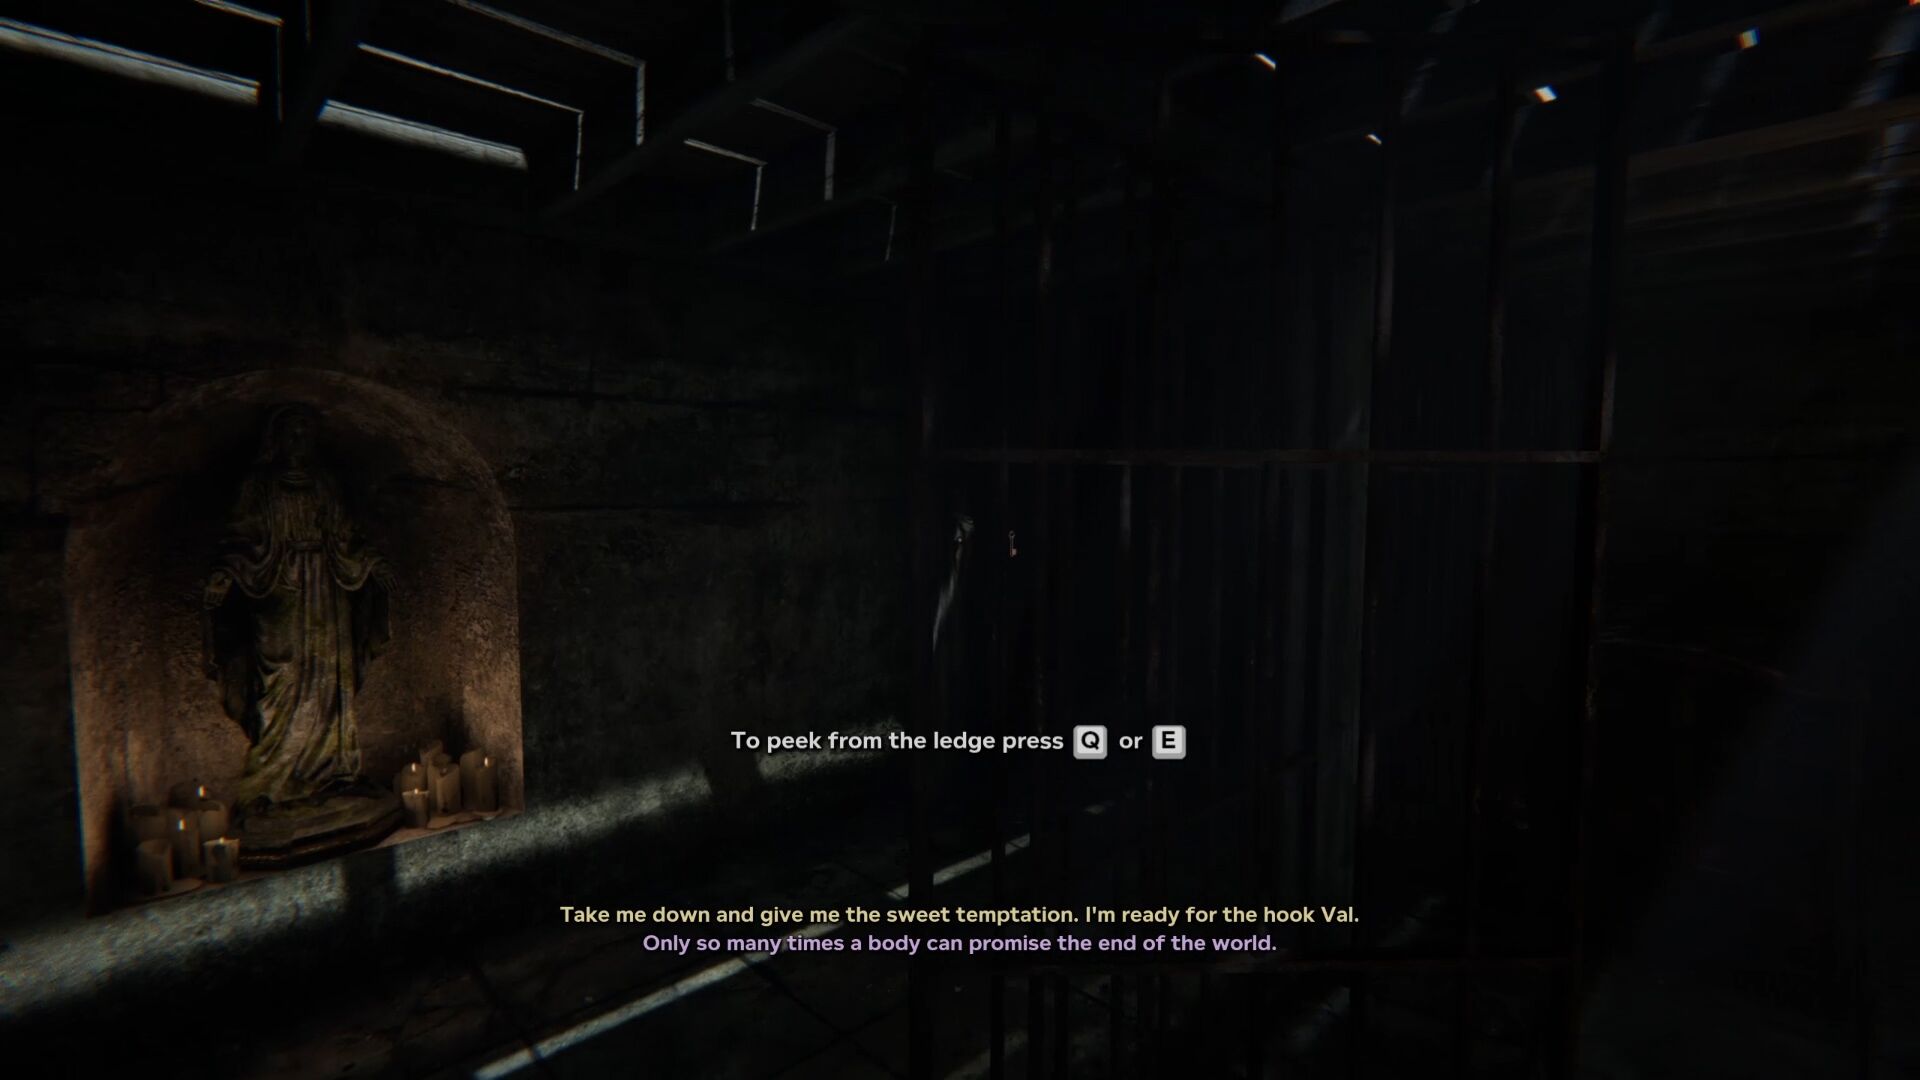
Pick up another collectible document that can be found on a table to the right side of the hall, then unlock the door at the end and walk down the stairs. This is where you’ll come across the church prison. There’s a hole in the middle of the prison which contains another collectible document. Grab it, then head back up and grab the Prison Key off the crucifix in the corner. Go back to the prison once more and collect a battery from the rear of the cage area.
Now that you’ve done this, crawl through the cages on the left to locate a door. This is where you can use the Prison Key to move into the next room. On your left, you’ll find a bandage on a table. Grab it, then head up the ladder towards the first floor. There’s another battery by a radio, collect this, then head up to the second floor. Now that you’ve reached the second floor, collect the document on the desk, then move through the locked door into a hallway.
As you head down the hall you’ll end at a window. Lynn will drop out of the window, and you’ll need to climb out and drop down to meet her. Next, follow her toward a canyon away from the church. As you’re pursuing Lynn, you’ll eventually be attacked by an enemy group and she’ll be taken from you again.

This concludes part 1 of our Outlast 2 walkthrough. Do you have any questions? Be sure to ask in the comments below, and we’ll try to help you out as best we can! If you're looking to continue on through our walkthrough of Outlast 2, you'll find the link to Part 2 down below.
Outlast 2 Walkthrough Part 2
By reading through this guide, you should now be up to speed on part 1 of the Outlast 2 walkthrough.
