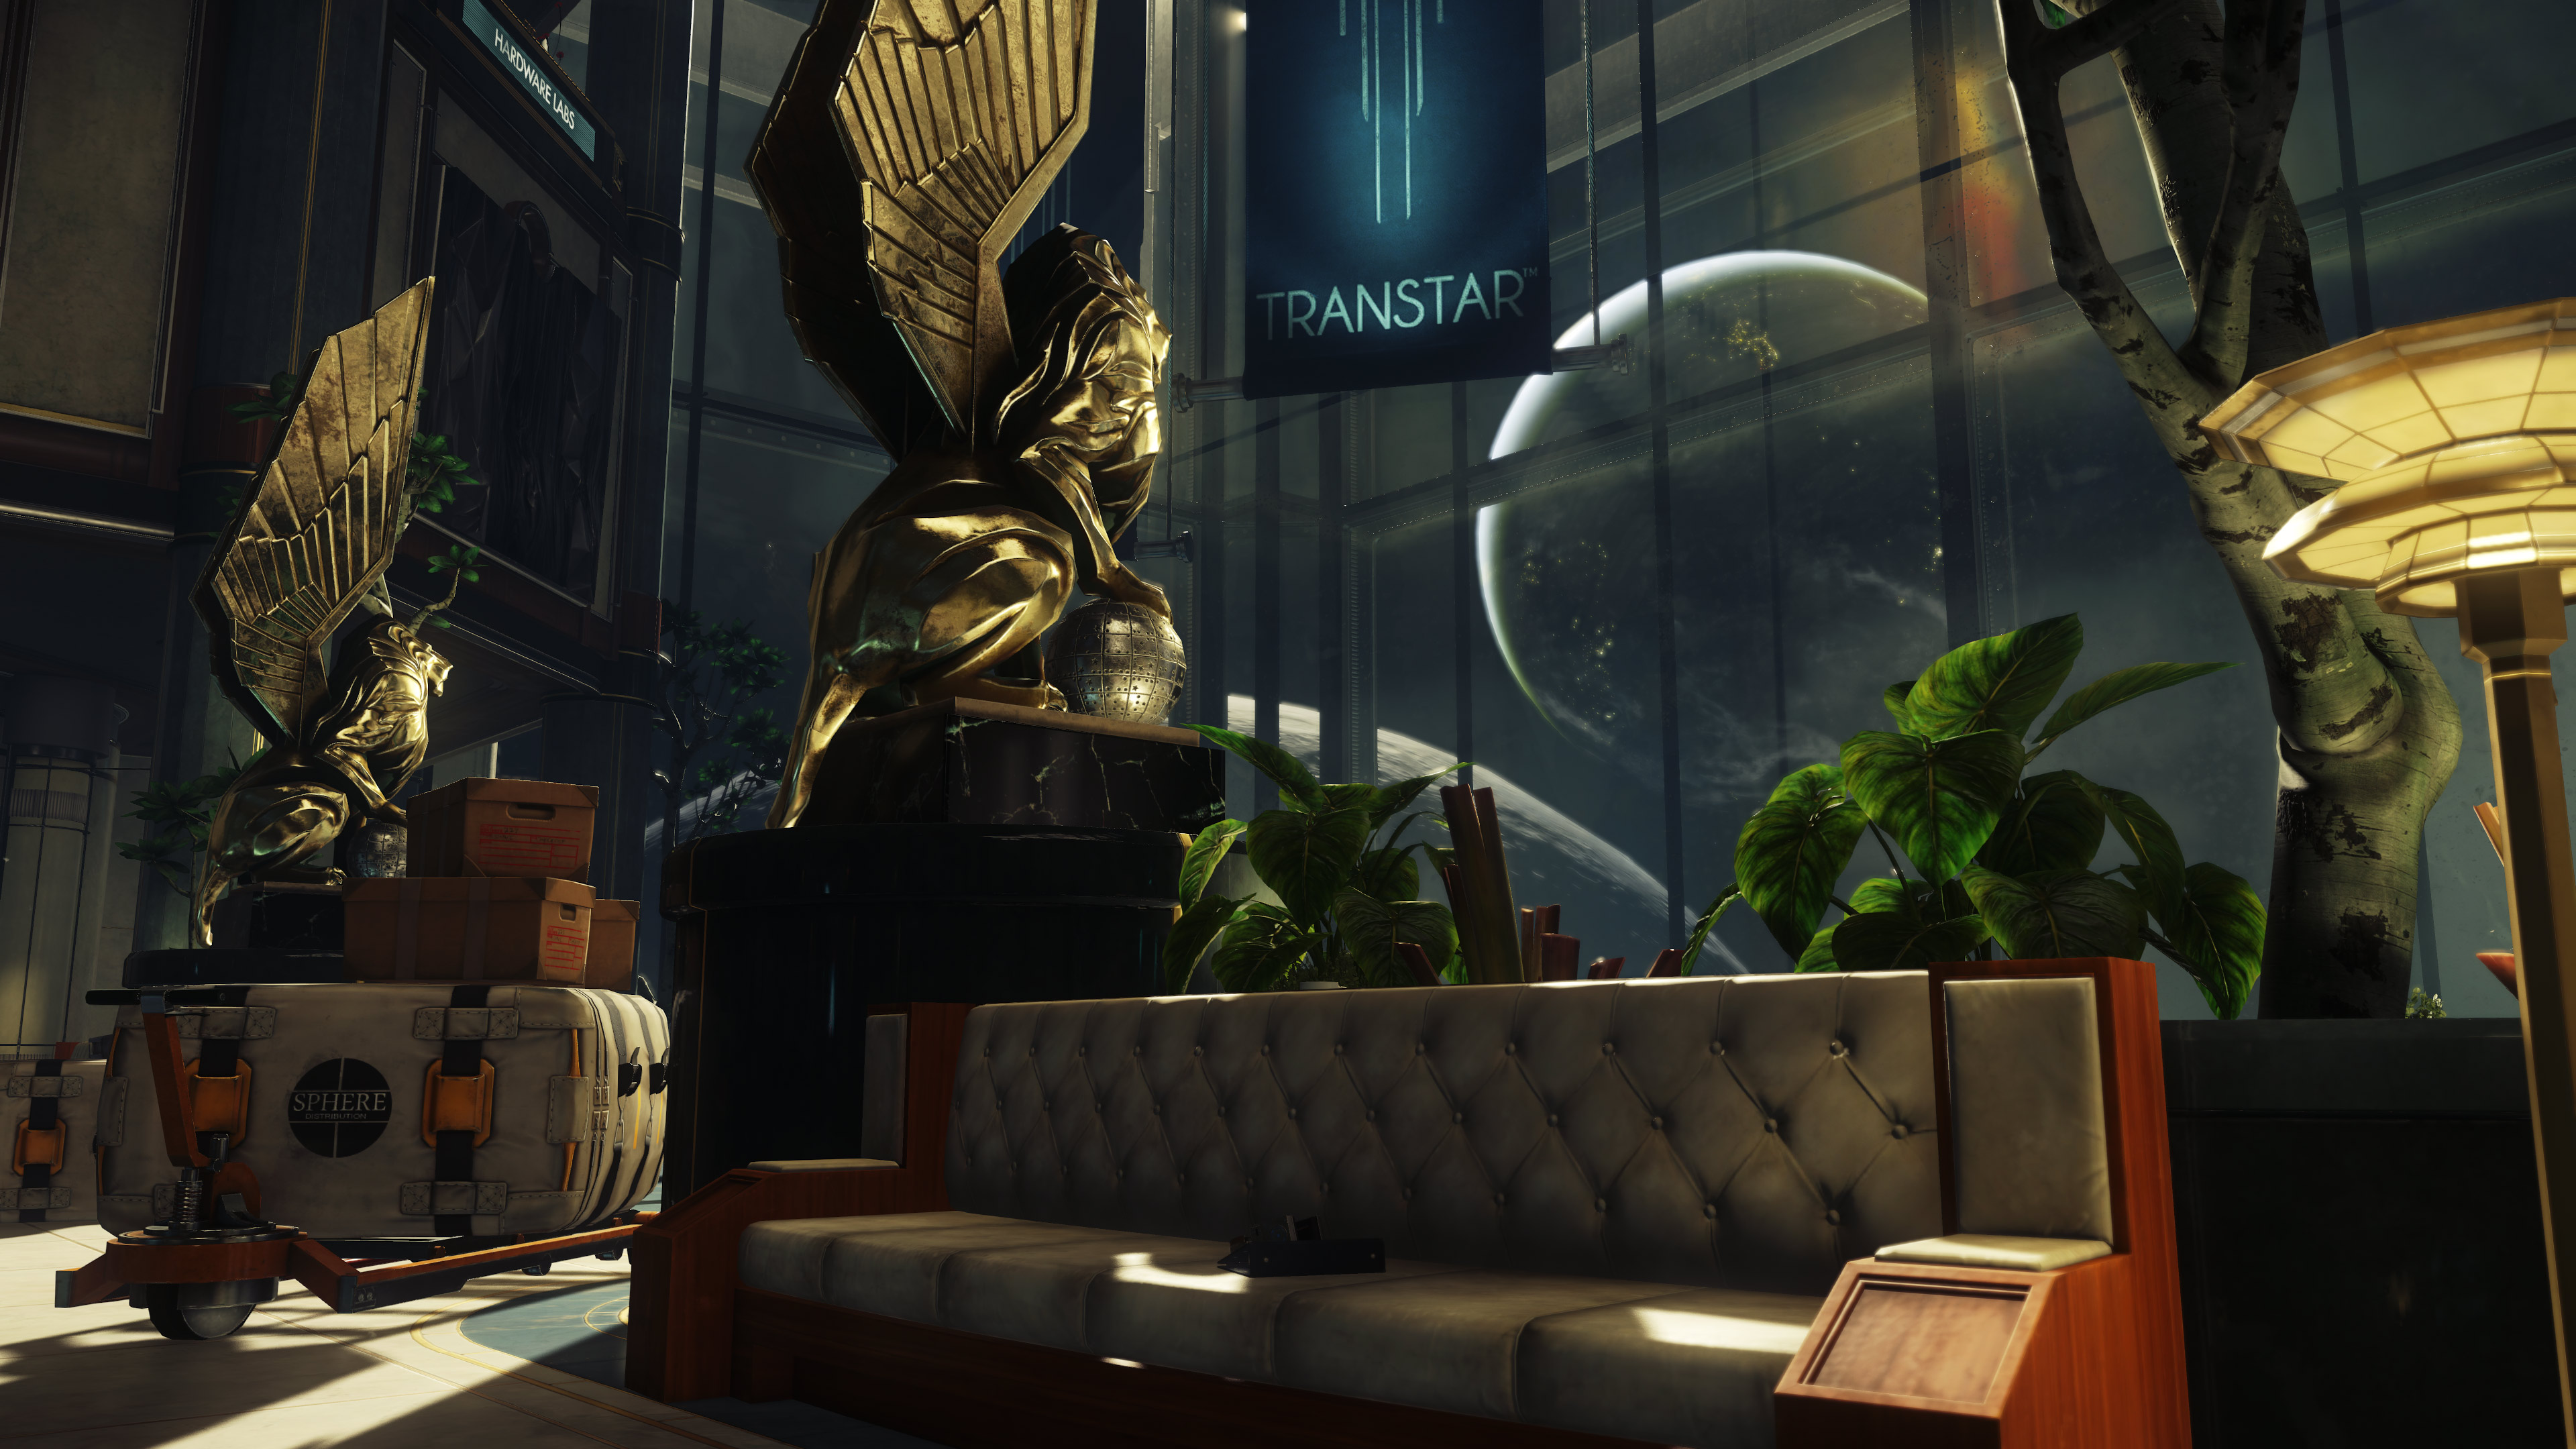
While playing Prey, you might have come across a Treasure Hunt Map which is one of four different Treasure Hunt Maps in Prey that lead to a secret “Hidden Treasure” accessible via the use of a keycode. If you haven’t come across a Treasure Hunt Map, it’s possible you heard about this in-game side quest from another friend playing Prey.
Whether you’re looking for the Treasure Hunt Map, answers to the Treasure Hunt Puzzles, the final Hidden Treasure Code, or everything and anything inbetween, we’ve got you covered!
Prey - Treasure Hunt Map Location

To locate the Treasure Hunt Map in Prey, you’ll need to progress through the story enough to gain access to the Crew Quarters. Once you’re inside the Crew Quarters, you’ll want to look at the computer workstation in the Fitness Center to learn more about the optional Treasure Hunt side quest.
After activating the Treasure Hunt mission, you’ll need to locate the Treasure Hunt Maps for the following crew members: Zachary West, Danielle Sho, Emma Beatty, and Elias Black. Once you have all four maps, you can begin the process of solving the Treasure Hunt puzzle. Before we help you through the puzzle itself, let’s start with where you can track down the four maps belonging to the four aforementioned crew members in Prey.
- To locate the first Treasure Hunt Map in Prey, you’ll need to locate the body of Zachary West. To do so, look at your map for the Arboretum to spot the body found before the entrance to Deep Storage. This is the area where you first located the Crew Quarters key in the Prey story. If you haven’t looted the body of Zachary West, head back to this area, over to the Deep Storage entrance, and grab the first Treasure Hunt Map in Prey.
- To locate the second Treasure Hunt Map in Prey, you’ll want to head into the Deep Storage area after looting Zachary West. Once you’re inside Deep Storage, head up to Level 2 and enter the Command Center. There, you’ll need to head over to the computer workstation and download the file that includes the second Treasure Hunt Map in Prey.
- To locate the third Treasure Hunt Map in Prey, you’ll need to head into the Fitness Center. There, one of the enemy Typhon you encounter is Emma Beatty. To grab the map, simply kill the Typhon, then loot the body to grab the third Treasure Hunt Map in Prey.
- To locate the fourth and final Treasure Hunt Map in Prey, you’ll need to head to the Crew Quarters, then into the Recreation Room. Upstairs in the Recreation Room, you’ll come across a table where the crew had been playing a round of Dungeons & Dragons (a fun little Easter Egg if you didn’t know this was here). To find the final Treasure Hunt Map, simply look around the table’s vicinity (it’s pretty easy to spot once you’ve located the D&D table).
How to Solve The Treasure Hunt Map Puzzles in Prey

Now that you have all four Treasure Hunt Maps in Prey, you’ll need to begin the task of solving each puzzle. While solving the Treasure Hunt puzzles, you may realize that the answer to each one is a number. This number will eventually become the four-digit Hidden Treasure Code.
Note that these numbers are potentially randomized, so we strongly recommend you complete the Treasure Hunt puzzles in order to unlock the Hidden Treasure Code. To help you out, we’ve broken down each Treasure Hunt Map and how to solve their respective puzzle in Prey.
- Investigate Melindra: To solve the Treasure Hunt Puzzle for Investigate Melindra, head to the Arboretum, then enter the G.U.T.S. area. Once there, descend to the bottom of the shaft, then make your way to the end of a creepy tunnel. There, you’ll find a door into the Shuttle Bay Fuel Storage area. Upon entering this area, jump the broken bridge and on your right, you’ll see the number “1” which is the first number in the Hidden Treasure Code.
- Investigate Hordinbaffle: To solve the Treasure Hunt Puzzle for Investigate Hordinbaffle, make your way to the Water Treatment facility, then look at the wall. Here, you’ll see the number “3” which is the second number in the Hidden Treasure Code.
- Investigate Stabfellow:To solve the Treasure Hunt Puzzle for Investigate Stabfellows, head to Level 2 of the Crew Quarters. Inside, you’ll find a room with a Recycler, and if you look on the wall to your right, you’ll spot the number “6” which is the third number in the Hidden Treasure Code.
- Investigate Rosalyn:To solve the Treasure Hunt Puzzle for Investigate Rosalyn, you’ll need to head to the Cargo Bay Level 1, then look at the wall inside the G.U.T.S. Loading Bay. Here, you’ll spot the number “5” which is the fourth and final number in the Hidden Treasure Code.
The Hidden Treasure Code in Prey

Now that you’ve found all four Treasure Hunt Maps and have completed all four Treasure Hunt Puzzles, you’ll be able to enter in the four-digit Hidden Treasure Code in Prey. What is the Hidden Treasure Code in Prey?
Well, if you put all four digits you discovered together, you’ll get the code 1365 (at least that's the code we got after completing all four Treasure Hunt puzzles). What’s the Hidden Treasure? Well, it’s an Adventurer’s Toolkit Fabrication Plan, so nothing particularly useful, but definitely a fun little scavenger hunt to complete while playing Prey.
By reading this guide, you should now know where to find all four Treasure Hunt Maps, how to solve all four Treasure Hunt Puzzles, and know the final Hidden Treasure Code in Prey.


