


If you recently picked up Northgard, you may be wondering how to build your first settlement. As a real-time strategy game, your settlement is one of the most important components to victory in Northgard. By constructing a successful settlement at the beginning of the game, you can help set yourself up for a clean victory towards the end of the game.
To help you start things off strong, we put together a guide on how to build your first settlement in Northgard.
How to Build a Base in Northgard

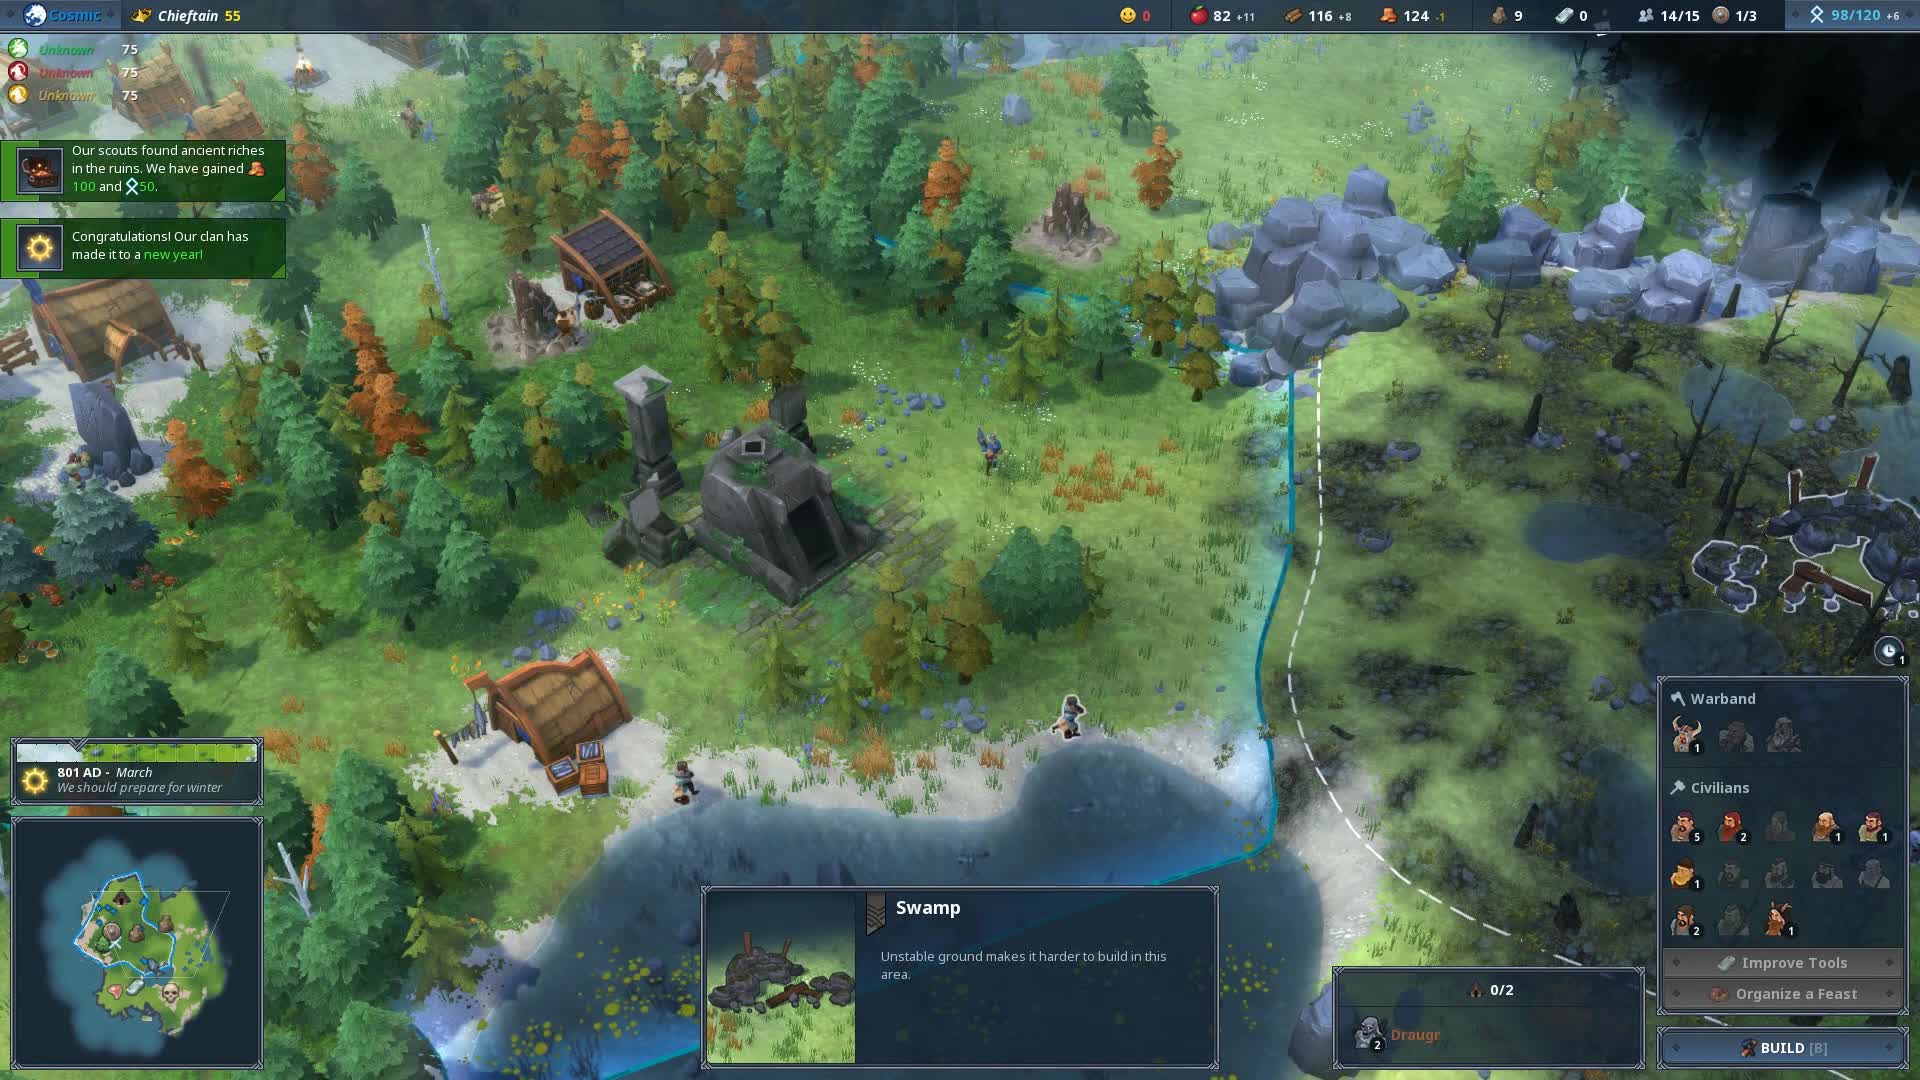
The first step towards a successful settlement in Northgard begins with the construction of your first base. Before you start placing buildings and units, take a moment to familiarize yourself with the map. In Northgard, everything is procedurally generated, which means you’ll never work with the same map twice.
Once you have a feel for the resources and terrain available on your map, you’ll need to find out how many buildings your section of the map can hold at any given time. To find this information, click anywhere within your territory, then look at the “Build and Villager” menu on the right side of your screen. To the left of this menu is a rectangular box with a house symbol and a number to the right.
This number reflects the number of buildings you can construct in the territory you selected. If the number reads as 1-5, for example, you’ll be able to construct 5 buildings max. The first building you should create in Northgard is a House. In doing so, your Town Hall will have the ability to produce Villagers at a steady pace, as each House you create adds +5 to your population.

Next, build yourself a Scout Camp. This will allow you to convert your Villagers to Scouts. Scouts are a vital unit when it comes to expansion in Northgard, as they’re the only ones capable of exploring the map and colonizing new territories. Following your Scout Camp, you should immediately construct a Woodcutter’s Lodge.
Try to place your Woodcutter’s Lodge close to a forest, as you’ll get a 20% production bonus. If your territory doesn’t have a forest, you may want to wait until your Scout has explored the areas surrounding your territory before placing your Woodcutter’s Lodge. With the Woodcutter’s Lodge in place, you can either build a Trading Post or Training Camp depending on your personal preference.
A Trading Post is a good choice, as it increases the rate at which you earn Krowns (which are needed for building upkeep). Plus, Krowns can also be used to construct new buildings, and upgrade existing buildings.
Meanwhile, a Training Camp is crucial for converting your Villagers into Warriors. Warriors are an important commodity in Northgard when it comes to clearing away enemies, so if your Scout discovers several hostile territories, you may find a Training Camp to be more beneficial.
How to Prepare for Winter in Northgard

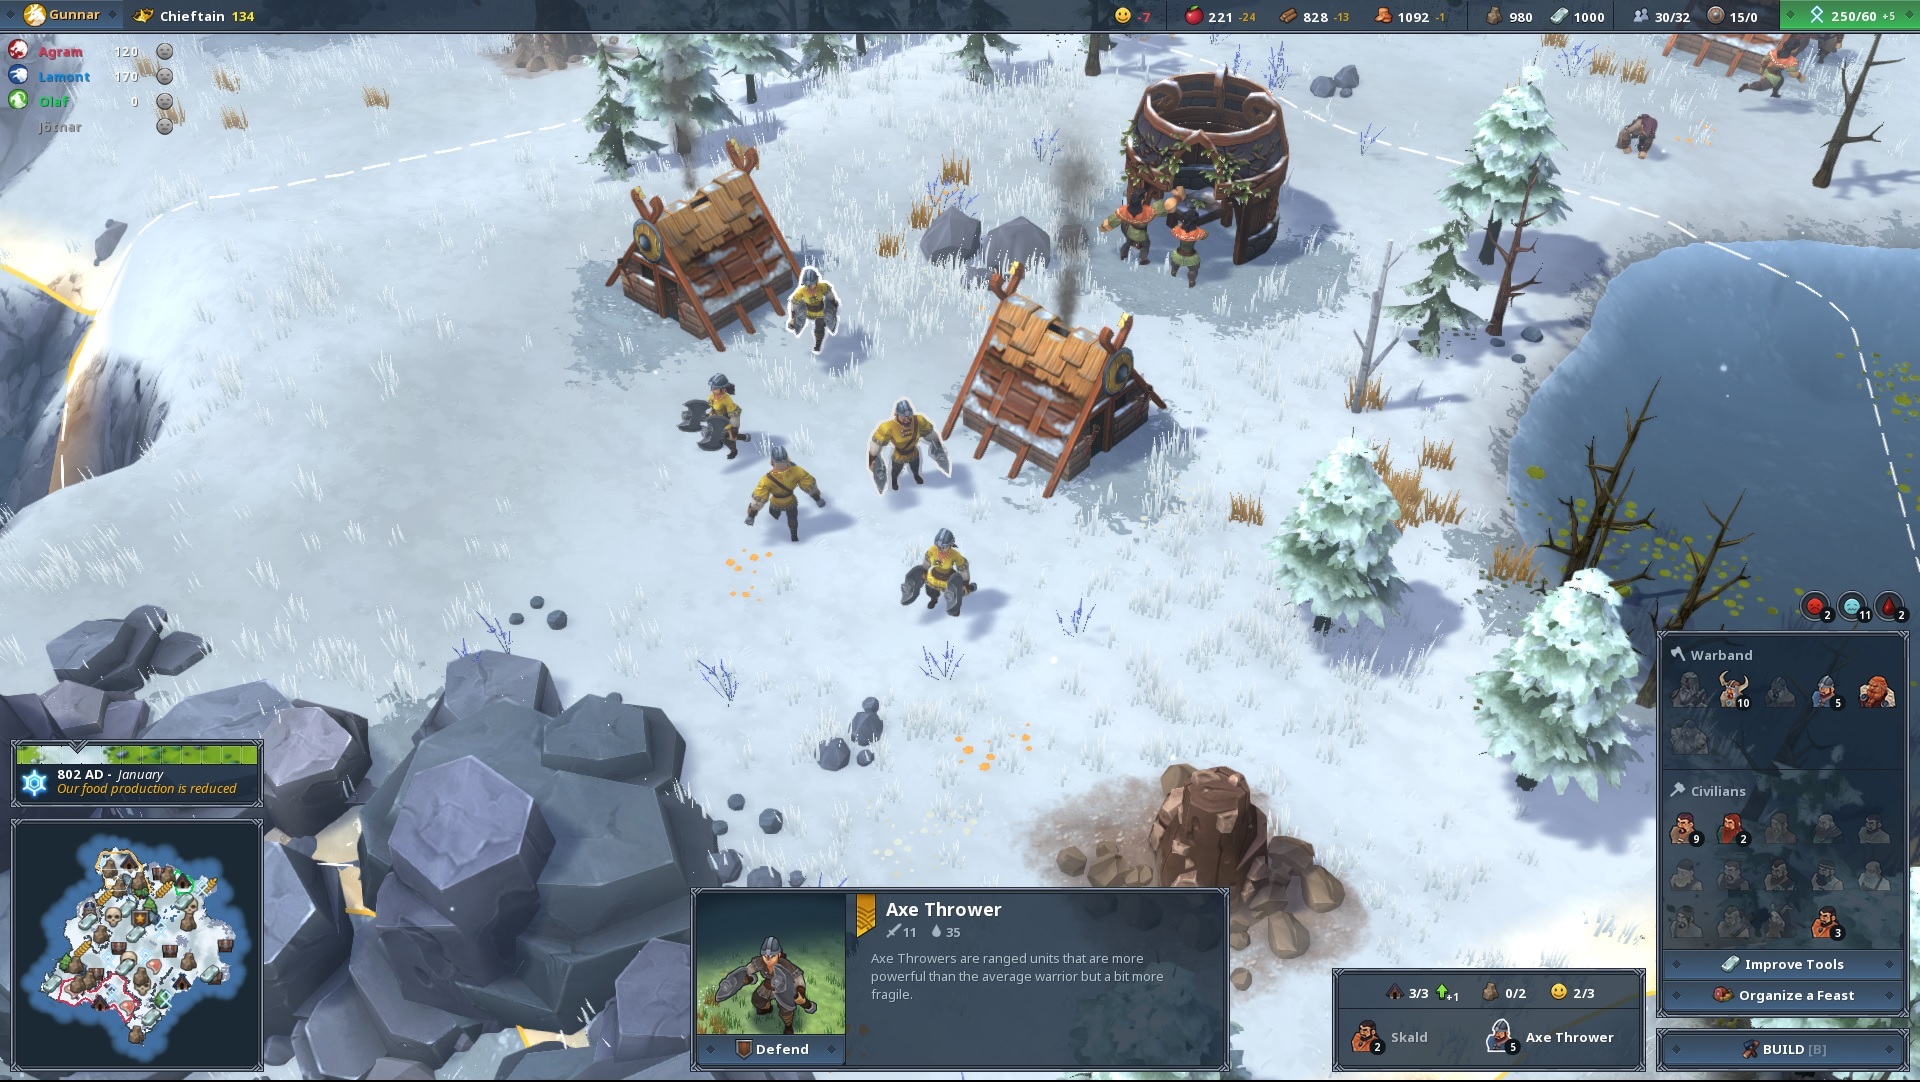
Now that your base is up and running, you’ll need to know how to prepare for winter in Northgard. The main reason is that during the winter, your resource production slows (including Food and Wood).
To see your settlement through the winter, you’ll want to consider constructing the following buildings:
- Hunter’s Camp: If you’ve colonized a territory with deer.
- Fisherman’s Hut: If you’ve colonized a territory with a lake. Note that the sea doesn’t count when it comes to producing Fish.
- Farm: If you’ve found and colonized a territory with a fertile plot of land.
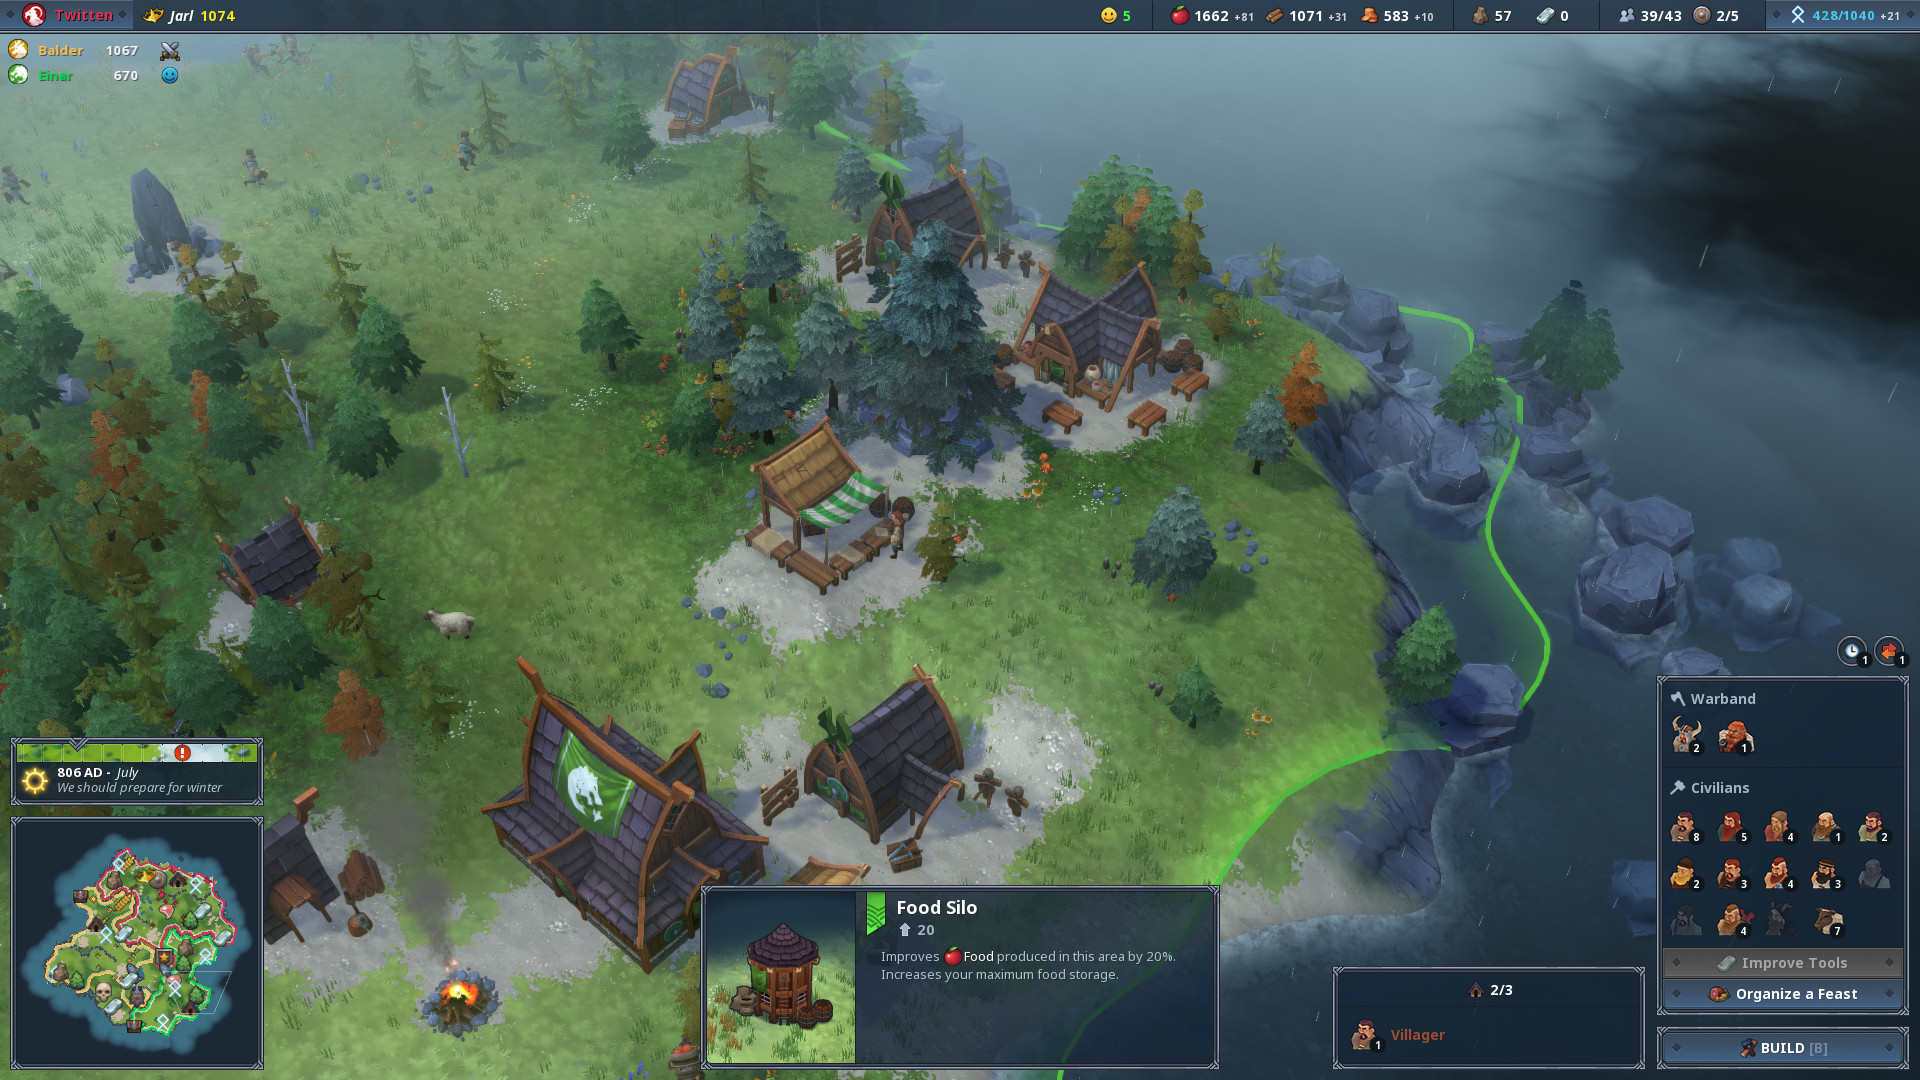
- Silo: Great for Food production, as it increases your overall Food storage capacity.
- Sheepfold: If you’ve found and colonized a territory with Sheep.
- Mine: If you’ve found and colonized a territory with Iron or Stone deposits.
Of these buildings, we strongly recommend building a Silo as it’s extremely helpful during the winter when Food production is low. Additionally, constructing a building to buoy Food production like a Hunter’s Camp or Sheepfold can be beneficial depending on which animal resources you have available to you.
How to Colonize New Lands in Northgard
With your base properly equipped to handle resource production, the next step towards a successful settlement is knowing how to colonize new lands in Northgard. As mentioned earlier, Scouts are crucial to discovering and colonizing new territories in Northgard. There are a few important things to note when it comes to your Scout; the first thing is control.
After creating a Scout, they’ll head out to discover new territories at random. If there’s a particular section of the map you’d rather have your Scout discover, you have the ability to control where they go. To do so, click on the Scout, then send them over to the edge of the area you wish to investigate.
An important tool to take advantage of when colonizing new lands in Northgard is the structure limit of each discovered territory. This is because you’ll want to colonize territories that will be beneficial to you. So, after your Scout has discovered new territories, click on the territory (as you did in the beginning of the game) to view how many structures you can build on it along with the resources it contains.
The next thing to keep in mind when colonizing new lands in Northgard is how much Food it costs to colonize each territory you’ve found. In the beginning, territories require minimal amounts of Food. As you add new territories to your settlement, though, the required cost of Food will increase.
Food production is vital in the winter, so be sure to play conservatively when colonizing new territories in the beginning of the game. Another problem you may encounter when colonizing new territories in Northgard is hostile inhabitants. If you discover a new territory that contains enemies, you’ll need to send your Warriors in first.
This is because you’ll be unable to colonize a territory until it’s cleared of enemies. Once that’s done, your Villagers will be able to move in, and you can begin constructing buildings on that particular territory as normal.
How to Assign Roles to Villagers in Northgard
In Northgard, it’s important to also know how to manage your Villagers by assigning them roles. Without a proper role, your Villagers can quickly unravel your progress. To remedy this, Villagers need to be converted to special units like Scouts or Warriors individually. This differs from other RTS games where you can construct units via building.
Here are the steps needed to assign a Villager a particular role:
- Select the Villager you wish to assign a role.
- The next step depends on which role you wish to assign.
- If you want a Villager to become a Warrior, you’ll need to locate your Training Camp and hover over it.
- In doing so, you’ll spot an avatar of a Warrior along with a green plus sign.
- Right-click on the Training Camp, and your selected Villager will now be assigned the role of Warrior.
If you find your needs shifting, you can always reassign Villagers to new roles. To revert a Worker back into a Villager, complete the following steps:
- Select the Worker you wish to reassign.
- Locate a house, then hover over it.
- Right-click the house when the avatar and green plus symbol appear.
- Wait for your Worker to revert back into a Villager.
To assign new roles to your Villagers, complete the following steps:
- Select your Worker.
- Hover over the building of the new role you wish to assign.
- For example, if you wish to convert your Scout into a Merchant, hover over the Trading Post until the avatar and green plus sign appear.
- Right-click your Scout, and they will be reassigned the role of Merchant.
How to Manage Resources in Northgard

With Northgard being a real-time strategy game, it’s important to know how to manage your resources. Like a true RTS, your buildings, colonization, and Villager roles all play to this particular objective, in addition to their primary functionalities.
For example, your Scout is essential to discovering new pieces of land, but that land is typically viewed from the perspective of how many resources it can provide.
Food Production
As mentioned earlier, Food production is a key component to building a strong settlement in Northgard. Each unit consumes -1 Food, and each Villager produces +4 Food. In the beginning of the game, you’ll notice you’re producing +12 Food, but are consuming -4 Food every 7-10 seconds, leaving you with +8.
By adding another Villager, you increase the amount of Food from +8 to +11. Be sure to keep this ratio in mind when managing your Vood production in Northgard. Below, we’ve listed how much Food each Villager or Worker produces. Villager: +4 Fisherman: +4 Healer: +5 Hunter: +5 Sheepfold: +5 (+3 for each subsequent Sheep) To increase your Food production even more, you can upgrade your buildings using Krowns and/or Stone.
Wood Production
Managing your Wood production in Northgard is relatively straightforward. Each Lumberjack produces +4 Wood every 10 in-game seconds. Keep in mind, -1 Wood will be consumed for firewood in Northgard, and will increase as winter approaches and time passes.
Earning Krowns
Krowns are an important resource in Northgard, and can be used to upgrade buildings, upkeep buildings, and assign Villagers roles. In the beginning, your Town Hall will produce +2 Krowns.
Keep in mind, though, that +2 Krowns isn’t enough to sustain your settlement. Because of this, you’ll need to construct multiple Trading Posts as soon as you can. Try to build Trading Posts in the same territory as your Marketplace, as this will boost production in that territory by 30%.
Mining Stone

In the early stages of Northgard, knowing how to mine Stone isn’t too important. While you need Stone to upgrade buildings and create Carved Stone later in the game, it’s not a vital component to your settlement’s foundation at the start of the game.
Should you discover a territory with Stone, however, you should mine a portion of it early in the game as you’ll need 10 Stone to upgrade your Town Hall (which increase the speed at which you construct advanced buildings in Northgard). Alternatively, you can buy Stone using Krowns once you’ve created a Marketplace.
While there are other things you need to keep in mind, the information above should help you create a strong settlement in Northgard. What are some other tips for creating a settlement in Northgard? Be sure to let us know in the comments below!
By reading through this guide, you should now know how to build your first settlement in Northgard.
