This guide will explain where to find the Shovel Knight within Yooka Laylee and how to complete the Shovel Knight quest. Players have been anticipating the appearance of the Shovel Knight in Yooka Laylee, so it’s great to see an entire questline dedicated to the iconic Shovel Knight indie game.
Where to Find the Shovel Knight
To find the Shovel Knight in Yooka Laylee, players must first expand Tribalstack Tropics to unlock several new areas. Tribalstack Tropics is the first level of the game, so this shouldn’t be too difficult to achieve.
After expanding the level, go back up the ramp from the spawn area and then head up the wooden ramp on the right. Keeping to the right, go past the skeleton explorer and look for a path that leads around the side of the mountain. The Shovel Knight Blue Burrower is just a few steps ahead along this path, in crisp, bright 3D.
Speak to the Shovel Knight to acquire his quest. He’s seeking some alluring treasure at the top of the nearby temple, and tasks you with retrieving it for him. Return with the jewel, and he promises to reveal to you the secret to adventure success.

Reach the Top of the Temple
Once you finish speaking to the Shovel Knight, it’s time to head to the top of the temple to complete the Shovel Knight’s quest. Start by going across the bridge past Shovel Knight and following the path that leads around the temple. You will encounter several weighted platforms that shift when you jump on them.
Jump onto the first platform, then let the platforms adjust so that you can jump to the second one, and so on until you get up to the brick landing. In the next section, you’ll encounter more of the same seesawing jump platforms, but this time they have switches. Jump to the first platform. When it raises high enough, run and jump to the next ledge.
The rest of the quest requires perfect timing with your Slurp Shot ability. If you don’t have the Slurp Shot yet, you’ll need to return to Trowzer first and purchase the ability for 30 Quills. Return to this section with the Slurp Shot in tow when you’re ready to proceed.
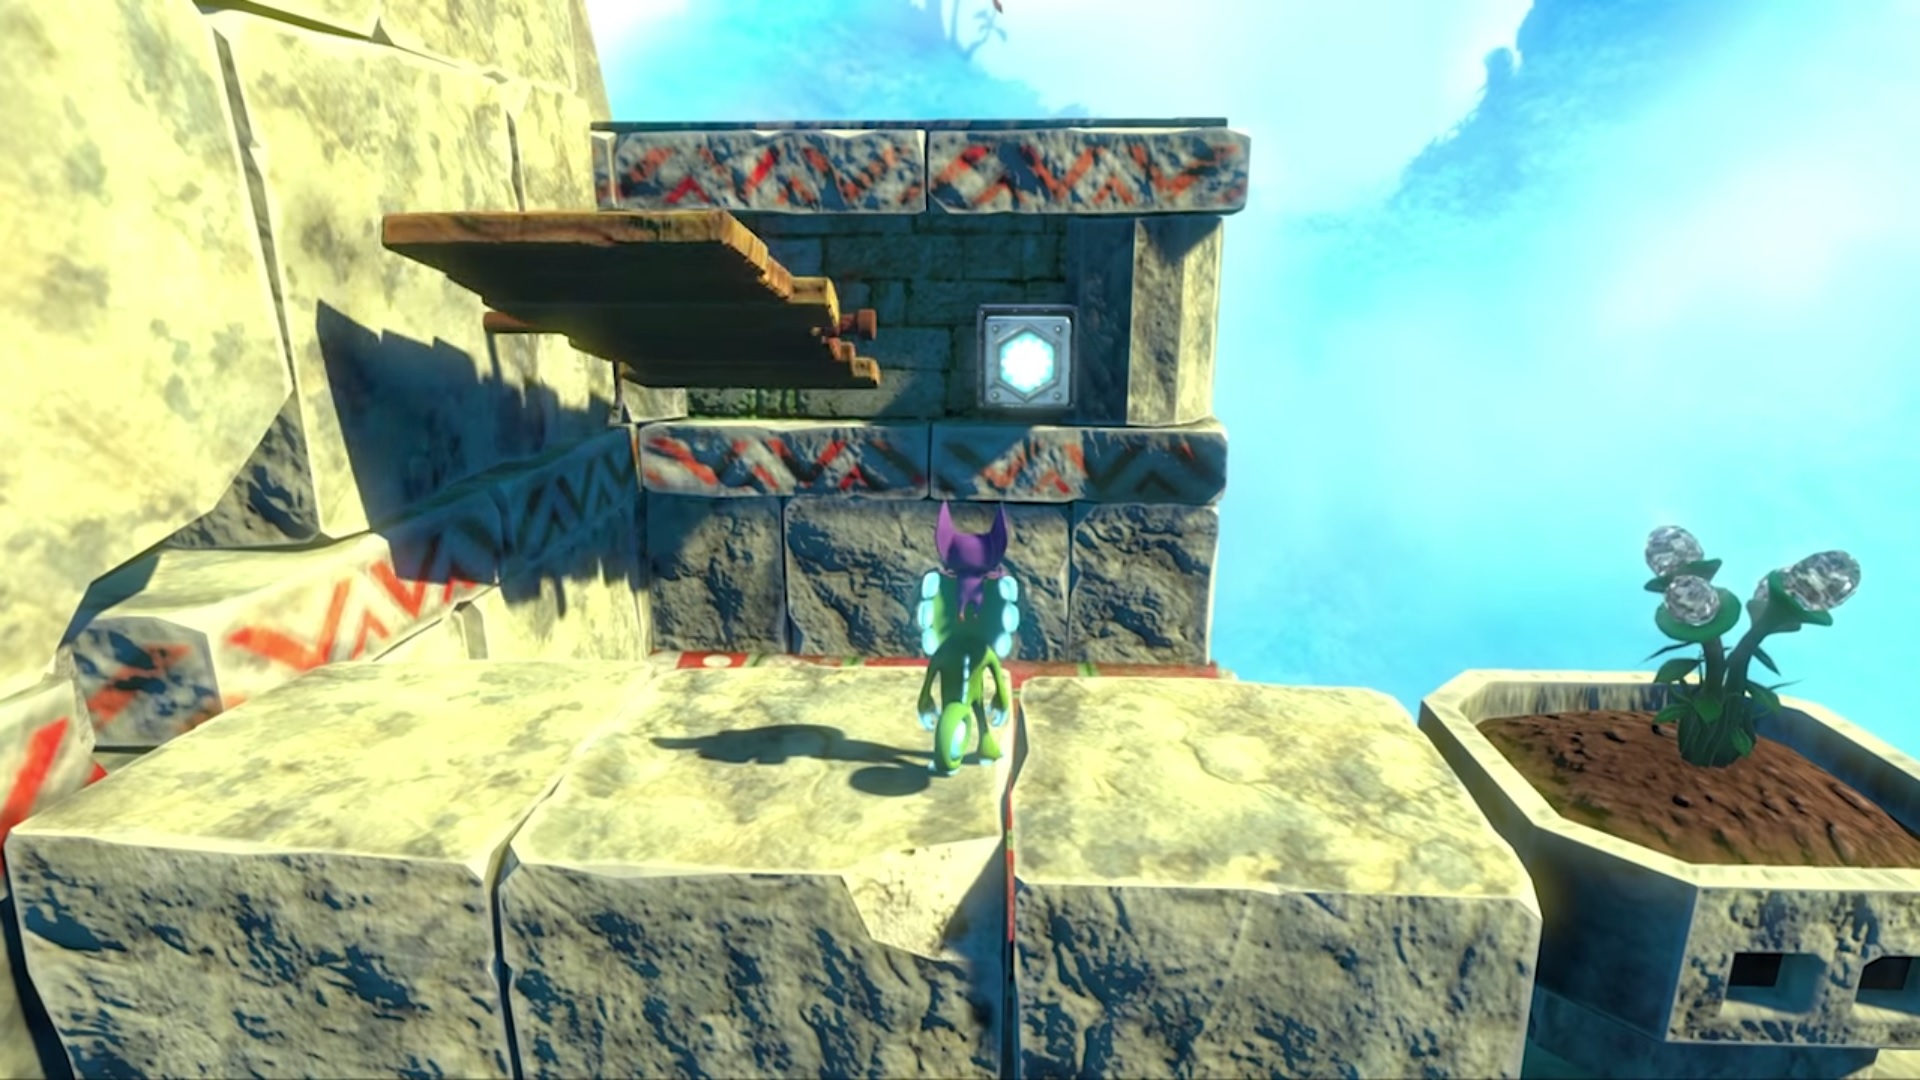
Eat the frozen berries on the bush beside you, then shoot the button ahead on the right. This causes the next wooden platform to stop moving, allowing you to jump across.
The next area involves three platforms this time, making it a bit more challenging than the previous sections. Take some more berries off the nearest bush, then use Slurp Shot to shoot the switch to make the platforms move. Align the platforms so they are flat enough to jump across, then shoot the switch again to lock them into place. Jump up and continue forward.
The difficulty ramps up in the next section, as you have three more platforms to deal with, but this time they each have their own switch to manage. Break the crates on the right to slurp some more berries, then continue along the wooden bridge to the end of the bridge path.
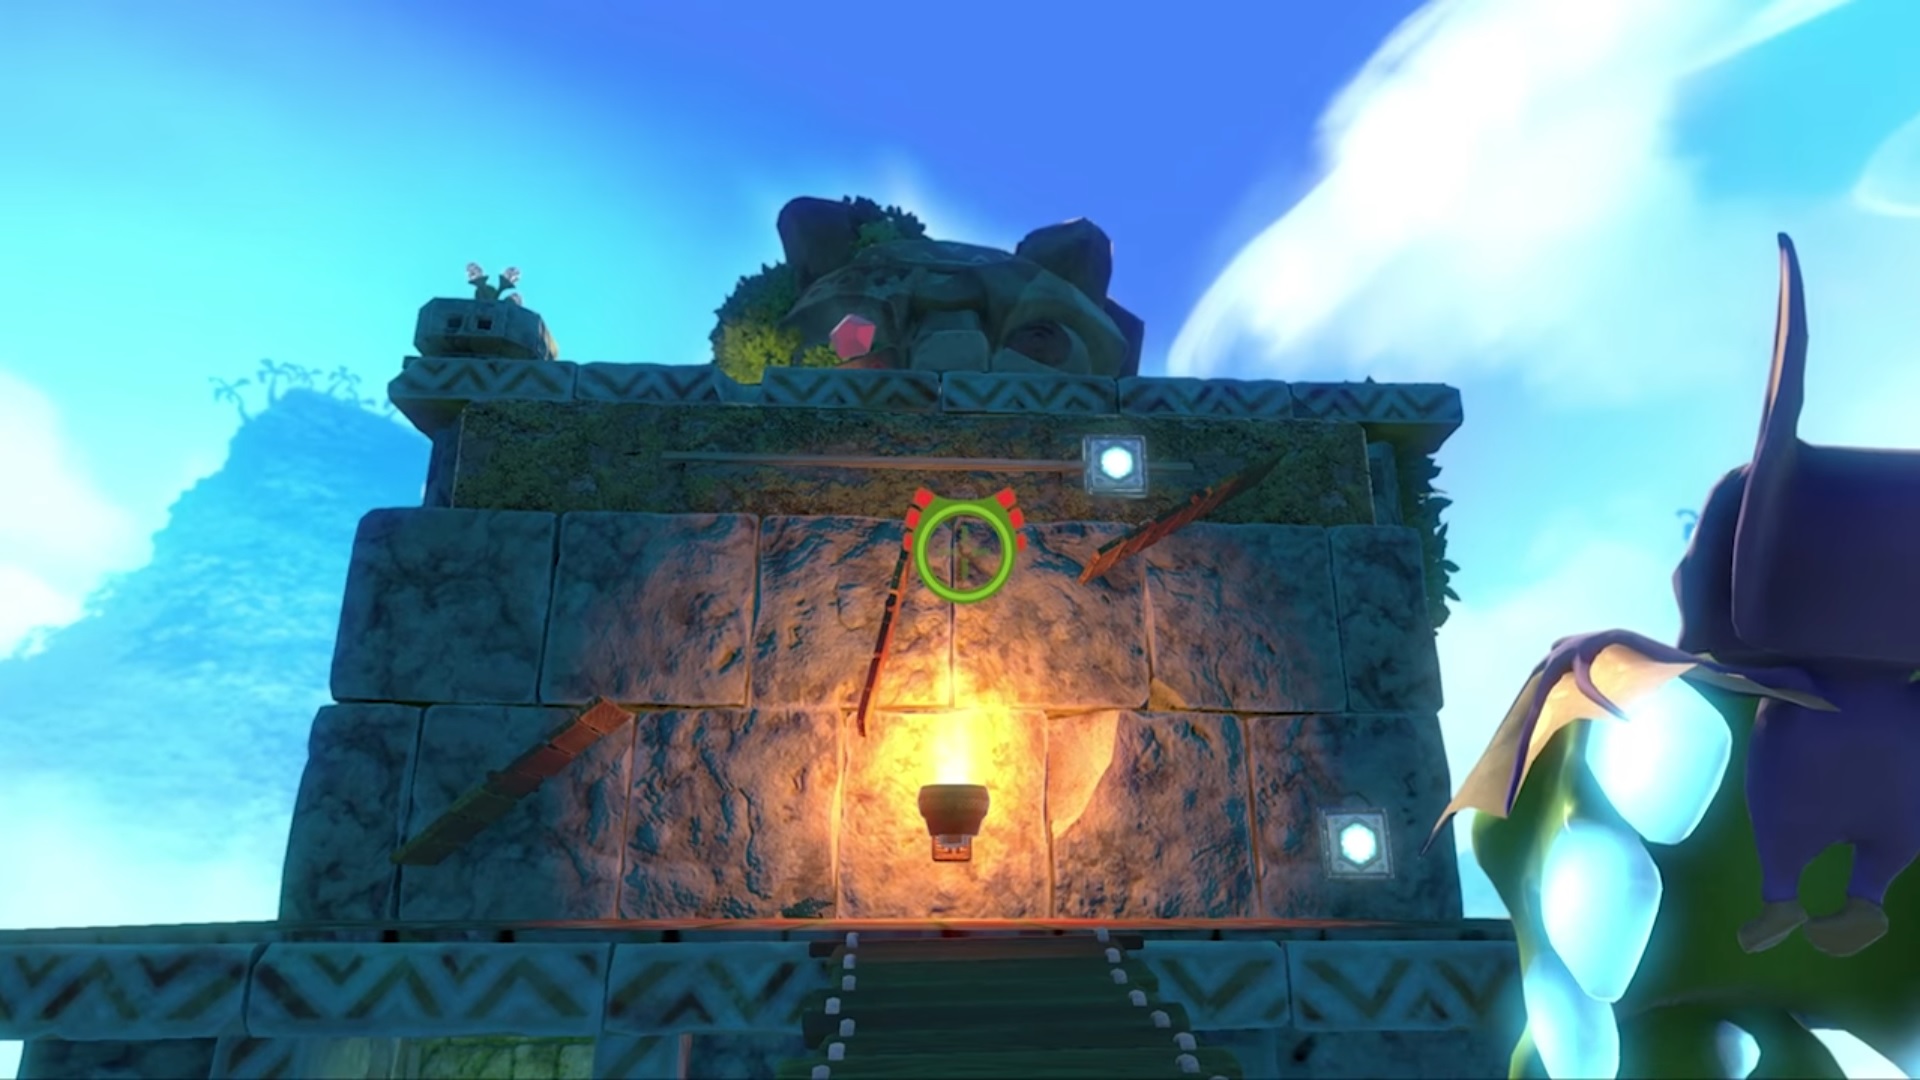
Start by hitting the switch on the lower left to activate the left platform. Then, use more berries to Slurp Shot the switch on the far right, putting the top platform into position. Finally, carefully time your shot on the upper-middle switch and fire when the middle platform is in position. This may take a few tries since the last switch slides side to side, but with proper timing, you’ll eventually get it right.
Hop up the platforms to reach the top of the temple. You can take the jewel as soon as you dispatch the pair of totem enemies you find and the top. Gather up some more berries and shoot at the totem pole enemies to knock off their eyes. Continue firing at their eyes with your Slurp Shot while they’re stunned. Once they’re eliminated, you’re free to snag the jewel and bring it to the Shovel Knight.
Aim at the temple statue’s left eye to knock down the precious jewel. Go back down the temple path and return to the Shovel Knight. For your efforts, you’ll be rewarded with a new Pagie as well as the secret to succeeding in any adventure.
Now that you’ve found the Shovel Knight in Yooka Laylee and completed his quest, you are one step closer to finding all of the Pagies in Tribalstack Tropics.