Return to the spot that started it all in Sekiro: Shadows Die Twice and you’ll most likely be treated to the one thing Sekiro knows how to deal out better than anyone else: deaths. Yes, make your way back to the well you woke up in and you’ll now find the Lone Shadow Longswordsman, an intriguing miniboss who’s itching for a fight with a certain shinobi.
His ferocious attack flurry can prove extremely tough to deal with if you don’t have enough experience, but understand his attacks and you’ll best this kick-happy upstart in no time at all. Read on to learn how to beat the Lone Shadow Longswordsman in Sekiro: Shadows Die Twice.
How to beat the Lone Shadow Longswordsman boss in Sekiro
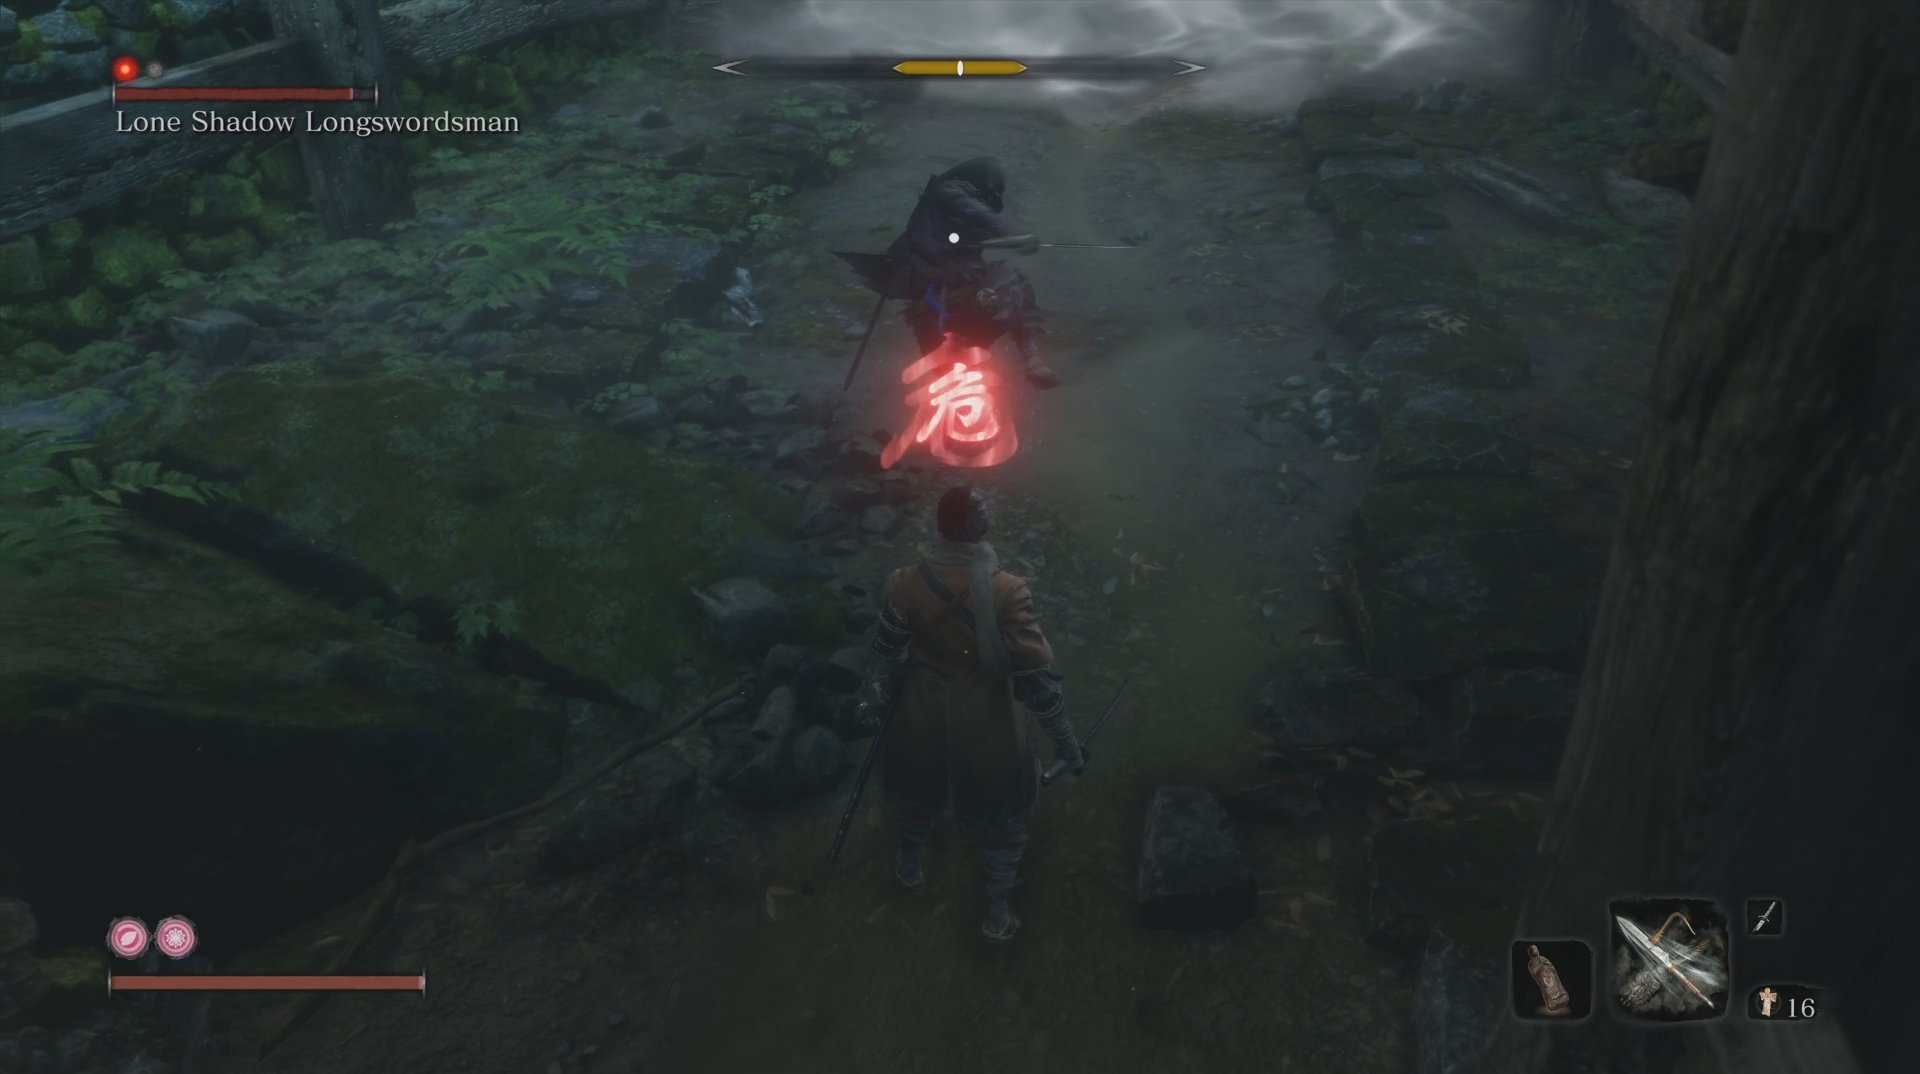
The Lone Shadow Longswordsman is found in Ashina Reservoir, in the well you start the game in. You’ll pass several enemies on your way here, along with a friendly NPC called Jinzaemon Kumano. Sneak down into the well and you’ll find the Lone Shadow Longswordsman with his back to you. In a rare case, you can sneak up behind him and press square (X on Xbox One) to eavesdrop. He’ll say he’s looking for a wolf who’s lost all hope, but just because he’s chatty, don’t let that fool you into thinking he’s a friend.
Before you take on the Lone Shadow Longswordsman, we recommend fighting through other areas of the game until you’ve made at least two Prayer Bead necklaces and defeated a few big bosses like Juzou the Drunkard and Lady Butterfly. We didn’t tackle him until we’d already made our third Prayer Bead Necklace, and the extra health and damage made the fight significantly easier. You’ll also want to hunt down a few extra Gourd Seeds to boost your healing reserves.
The Lone Shadow Longswordsman requires two death blows to finish, and as with many other minibosses, it’s best to remove one of those immediately with a stealth takedown. Before you climb down into the well, walk past the hole Jinzaemon is next to and you’ll find a second, this time directly above your enemy. Jump down and stealth
Lone Shadow Longswordsman moveset
In terms of fighting style, Lone Shadow Longswordsman is very similar to the purple ninja who guards the Mist Raven Shinobi Prosthetic Tool in the Hirata Estate. If you’ve already fought and beaten him, you’ll have a good deal of experience under your belt. Basically, he’s going to throw out an awful lot of kicks with his sword strikes.
The real challenge to this fight is the close quarters. You won’t have much room to
Other moves to watch out for include an unblockable leg sweep that has to be jumped
Try not to back away too far from the Lone Shadow Longswordsman, as if you do he’ll start charging to heal some of his posture damage. If you see a white aura appear around him, rush in to interrupt it and deal extra damage.
Even if your parries aren’t particularly on point, it’s possible to muddle through this fight if you keep your guard up and land the mikiri and jump counters when needed. His attacks might seem overwhelming at first, but they won’t break your posture all that easily. Combat Arts like the Whirlwind Slice work great during openings here, dealing Vitality damage and hurting his posture. Once you’ve injured him enough, keep peppering his
With these tips in mind, it won’t be long before you beat the Lone Shadow Swordsman boss fight in Sekiro: Shadows Die Twice, opening up the path to the Abandoned Dungeons. You’ll be rewarded with a Prayer Bead and Scrap Magnetite for use in upgrading shinobi prosthetic tools. In case you haven’t found all of those yet, here’s our guide to their locations.