


The Eater of Worlds Raid Lair is an agility-oriented challenge from start to end, balanced heavily toward jump puzzles and general confidence in hopping around tricky geometry. Combat is concentrated around three main encounters, the final two involving the boss.
Raid Lair Recommended Power Level
The recommended Power Level is 300, but 315 is more realistic, even for players that have experienced much of what Destiny has to throw at you. Adds control is a big consideration for the final battle, wearing down weaker teams, taking too much time to thin their number.
Raid Lair team composition
Your team should include at least one Striker Titan with Pulse Grenade and Rally Barricade, one Stormcaller Warlock to aid with Empowering Rift, and a Nightstalker Hunter with Way of the Pathfinder for the orbs generated. The Hunters prove very useful to paralyse adds.

Raid Lair best weapons to bring
Ideally you all should carry a balance of high damage, long-range guns such as Scout Rifles that include MIDA Multi-Tool and Nameless Midnight; Auto Rifles that include Scathelocke and Origin Story; ridiculous Trace Rifles Coldheart and Prometheus Lens for sustained DPS, and finally a Rocket Launcher with Cluster Bomb, such as Curtain Call and Sins of the Past. Nothing says goodbye louder and clearer than a perfectly aimed rocket into a big crowd. Solar damage is good for the earlier battles, but Void is most helpful for the last sections.
How to Escape the Reactor
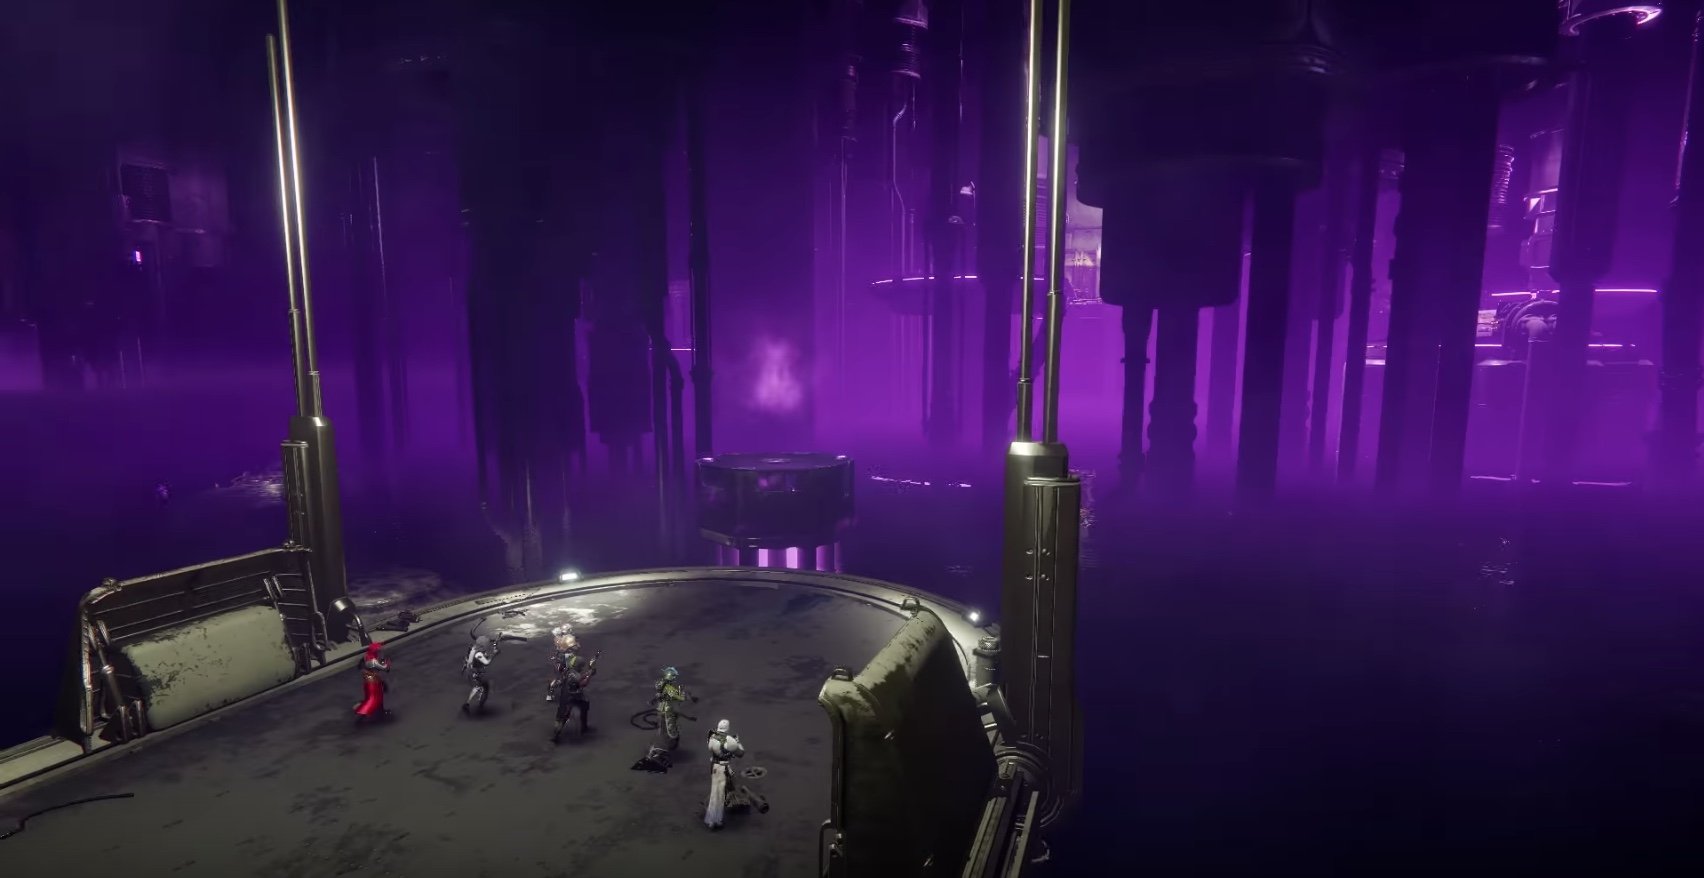
It’s easy to find your way in, as the door into the Leviathan is directly ahead and up the stairs. Leap down into the depths of the ship, where your first challenge is to time your journey through a tunnel of light sandwiched between barriers. You’ll figure it out after being squished a few times, or just have somebody say when!
The first real challenge is the Reactor puzzle itself, which is a series of four jumping puzzles. Proceed as a line of six, nominating a leader. As the platforms ahead rise from the water, the leader makes the first jump, swiftly followed by the next Guardian in line. It’s simply a case of following the leader, and not spending too long on each platform or else they sink.
Caution! Only one Guardian on each platform. The platforms also sink if there are two. Caution! There are Cabal Psions sniping from surrounding walkways. Do shoot them.
For the second set of platforms, divide the team into two groups of three. The routine is similar to the previous one, with both groups following the guy in front to each platform. The routes lead left and right before joining in the middle for one last jump to safety.
It gets trickier for the third series, approached as a full team of six. After the seventh platform appears, more platforms appear from the back of the team. You could think of this as two groups of three again, keeping the front three guys in place while the rest finish the route to the next checkpoint. You don’t need everyone to double back to finish the route.
Finally, everyone follows the leader, focusing on the guy in front to avoid confusion on this last leg of the puzzle. There is one platform that rises a fair distance away, requiring a long jump. Crucial thing to notice is that the last two or three guardians will end up leaping over the heads of those leading the pack because the next platform rises between the far-apart platforms. Stay focused on the exact route of the guy ahead, and you will make it just fine.
How to Defeat the Loyalists
This is a skirmish against waves of Cabal, approaching pretty much from all sides. They bring Warhounds, which means it’s a busy fight. Loyalist Centurions have Solar shields, so match this with an Energy Weapon – e.g. Prometheus Lens – to deal additional explosive damage.
You may wish to divide into two teams of three. Mainly, just team-fire the toughest targets. The first loot chest drops after this encounter is cleared.
Engine Room
Dash between the blast shields dotted around this cavernous room loaded with pistons. Each time they fire there is a flash of harmful light, which is the time you need to stay tucked behind the shield. You only have a few seconds to make it from shield to shield.

Raid Lair Secret Chest
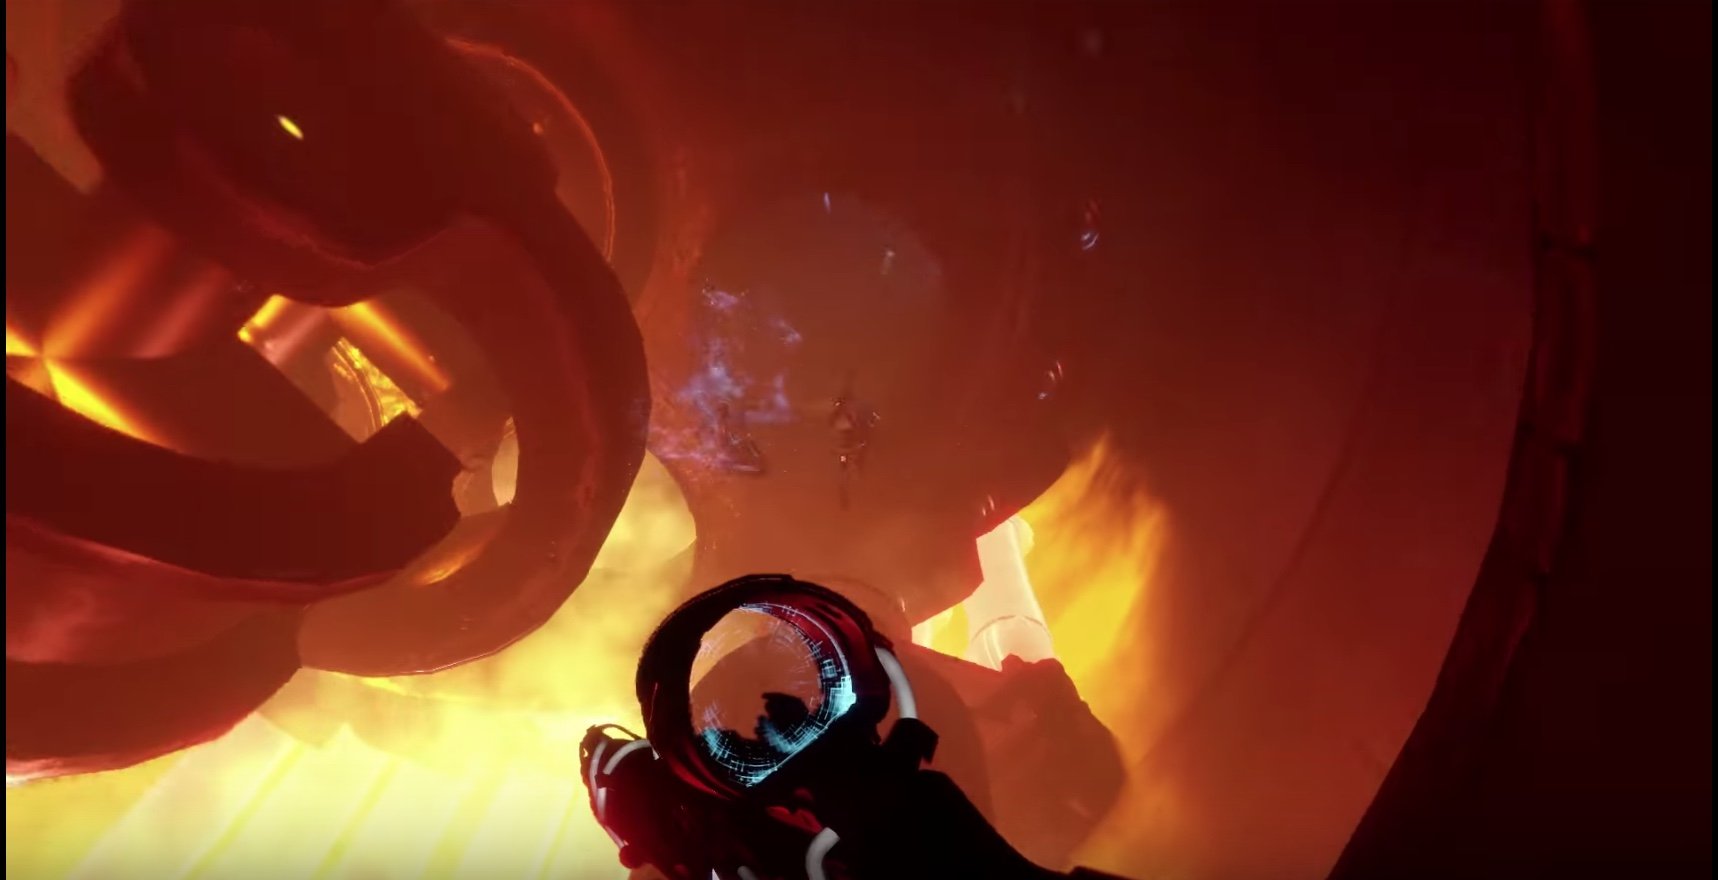
Shortly after the Engine Room there is a huge cannon that fires everyone into a void filled with swirling debris. The trick here is to manage your jumps so as not to slam too hard onto any surface. While you are falling, there are six rings to pass through and activate. If you or the team lights all six rings, a chest appears containing one Legendary engram and Glimmer.
How to Break the Barrier
We are now at the crooked location where the fight against Argos takes place, but first we must break him free. Notice that there are three main sections surrounding the giant cage, each with an energizing station comprising three flaming vessels. On the debris between each main section, Vex Craniums spawn which are to be placed into vessels for energizing.
Assign three pairs of guardians to each of the main sections, taking charge of Void, Arc and Solar energizing stations. One of the pair takes main responsibility for collecting craniums, dropping them in an energizer and collecting when armed. The other defends the station, ensuring that adds are kept to a minimum. The defender is also the person that calls out when elemental color-coded mines appear on the cage surface nearest to them. Mines appear in sets of three, a total of six times, to be disintegrated using energized craniums.
It is very important to call out the mines in the order that they appear, and where they have appeared. For example: Arc section, two voids, one solar. They are on a timer, meaning that the cranium runners tackle those that appeared first whenever possible. It is also helpful to have one of each elemental type energizing, reserving the three remaining craniums until a new set of mines is called out. In this way, you guarantee at least one of each element and can back these up with at least three more if the game bets heavily on type, e.g. void mines.
It takes strong communication and spur of the moment adaptability to complete, but if you tackle mines in order and keep adds under control, the entire cage is soon vanished. Bear in mind that craniums take 20 seconds to energize, and de-spawn if dropped longer than 10.
The loot chest appears at the spawn point on the Void energizer platform.
How to beat Argos Planetary Core, the Raid Lair Boss
It is currently considered that energized craniums deal the most DPS against Argos, shortening the time it takes to defeat him, and reducing the risk of ammo shortages.
To this end, bring all craniums to the energizer station that faces Argos for each DPS phase. The way to identify the correct energizer station is that three orbs are clearly seen at points surrounding the shield. You’ll be using energized craniums to ‘unlock’ the shield for DPS.
Energize three craniums in the vessels on the DPS platform while energizing the remaining three according to the orb colors. Fire these three craniums at their corresponding orbs to move them toward the centre of the shield, at which point it disappears and allows for DPS. The remaining cranium charge can be used to deal huge damage here, while the other three craniums are completely unloaded on Argos.
After that, fire rockets, Coldheart and whatever else you have before the shield is restored. As soon as it does, energize all six craniums as soon as you can, wherever you safely can. These energized craniums are then used to DPS the exposed body parts when Argos summons a series of platforms. Be clear about which body parts are being targeted – skull, arms, body – working on only two at a time. As with the earlier DPS phase, once the craniums are discharged use whatever else you brought.
Be careful to avoid being trapped in prisms that Argos fires at the team, and to deal with the six Harpies that spawn in defence. If somebody is trapped by a prism, shout out for help so that your fellow guardians can shoot it open. Use the time after Argos is disarmed to clear temporarily paralysed adds or deal additional DPS to Argos himself. That’s one phase done.
Look for the next DPS platform and reassemble to repeat the process outlined above. You should aim to reduce Argos’ energy by 25% each complete phase. Higher Power Level teams are managing to defeat Argos after just two complete phases, with the cranium DPS as key.
Panic! But not really
After defeating Argos, it looks as though the entire team is going to wipe, being sucked into some kind of vortex. The game is only messing with you at this point, because Calus rescues everyone by teleporting you to his rewards chamber. Congratulations, you are now done.

